Tuesday, March 11, 2014

"Affairs of the Heart"- Basting the layers (Quilt top, Batting and Backing) .

I decided to use Matilda's Own machine washable wool batting, the colour is charcoal/black. This charcoal/black wool batting proved very hard to obtain in Western Australia, (I had to source it from Victoria Textiles in Victoria) this is one of many reasons for the delay in completing this step.


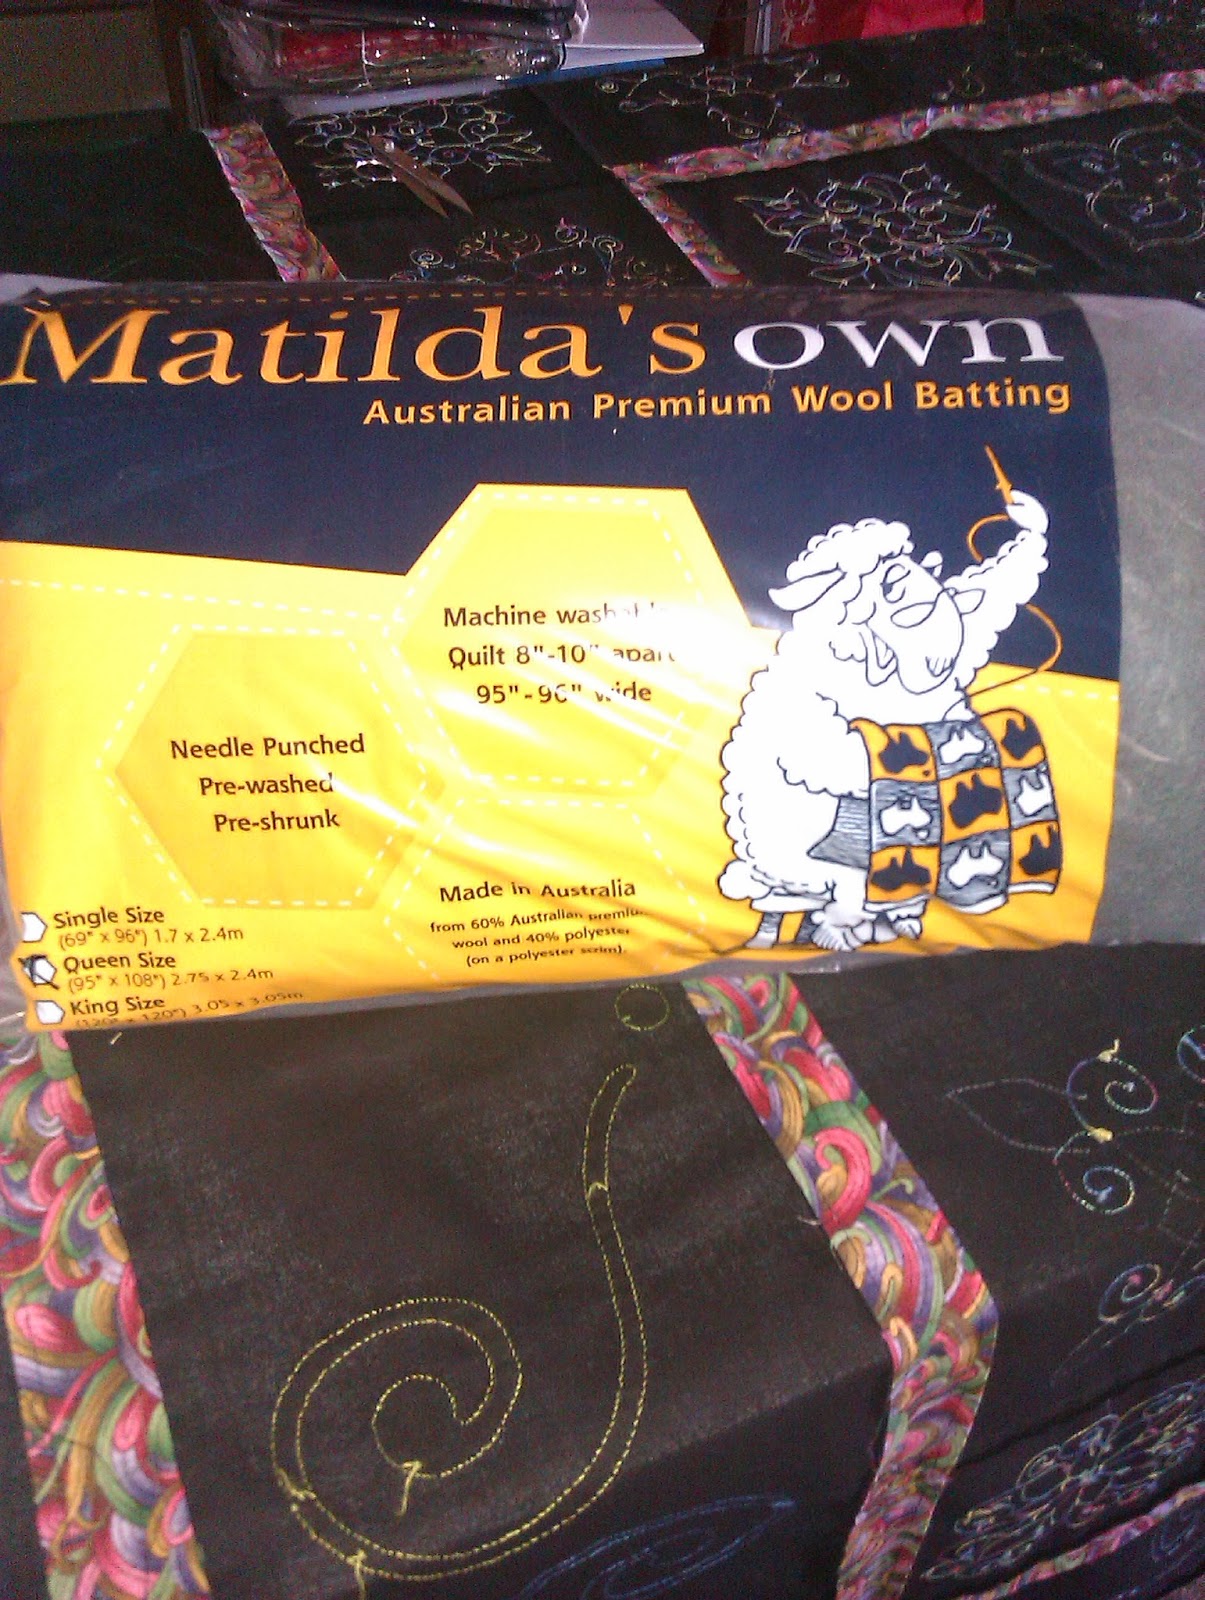
I am hoping, by using this darker batting instead of the white or natural batting I usually use, Bearding will not occur. In case you’re not sure what Bearding is: Bearding is when the little tufts of batting fibres come through the quilt top, if this happens no matter how many times you wash or brush it, the batting fibres will not go away. It's a common problem you get when you use dark fabrics with a lighter coloured batting, it would be heartbreaking for this to happen after all the work that has gone into this quilt so far.

As you can see I am getting my sandwich layers (Quilt top, Batting and Backing) together, there is a lot of fussing and prep going on here before I am ready to hand baste the three layers together with thread.


Another reason for the delay with this quilt is, I have no idea how I am going to FMQ the background area, what filler pattern I want to use or how am I going to keep the FMQ stitching in the background areas from competing with the applique and embroidery blocks. "I want the quilt to be the first thing you see, then a split second later, the quilting." I know I need to balance the density of the quilting and keep the quilting filler design consistent throughout the quilt so the quilting doesn't overwhelm the quilt top!


I am hoping inspiration will strike me soon! In the meantime I'll be doodling filler designs out on paper, to helped my brain remember the basic shapes and get the sequence and scale figured out before I stitch them onto a practice sampler square. I think half of the battle in machine quilting is knowing what to do when you get close to the edge or trapped in a corner. I had better get back to hand basting the quilt top, batting and backing together.


Until next time
Happy Quilting
Anne

Thursday, March 6, 2014

Work like an Egyptian Quilt

Look what I got for my birthday "Work like an Egyptian" Pattern by Smee Designs at www.smeedesigns.com. The dimensions of the quilt are: 60" × 79" I might make mine a little bigger. I am not sure yet? At the moment, I am reading and re-reading the instructions. I love the carver, the block of the queen and her court, the bull ready to assist the grain slaves in the fields, and look at the mighty pharaoh Ramesses II in his Chariot being pulled by his horses.


Apparently this block designs comes from the famous carvings of Ramesses II hunting with his big cat. Ramesses II, also known as Ramesses the Great, was the third Egyptian pharaoh of the 19th dynasty. He is often regarded as the greatest, most celebrated, and most powerful pharaoh of the Egyptian,(alternative spellings: Ramses, Rameses).

According to the Smee Designs web site, "The patterns are derived from original images on tombs, jewellery and other artefact's, researched from several books on Egyptian art. (I agree with them 4000 years is enough time for copyright to have lapsed.) The pattern is large and looks very comprehensive, the pattern includes over 30 pages of templates and pre-reversed pieces ready for tracing onto fusible webbing".


As you can see below I have started to collect and work out the fabrics I want to use.


The small pieces might be a bit fiddly to get into place all at once, it is recommended to use the "Baking Paper Technique", This Technique requires you to place the pattern template (which has been supplied in the pattern) on the ironing board, and cover it with baking paper. The baking paper will allow you to lightly iron the smaller pieces together and assemble them into the bigger shapes, without the fusible webbing adhering permanently to the baking paper.

I will have to remember when I assemble the small pieces to make sure I place the numbered underlapping pieces first then Iron together lightly. Once the shape is complete let them cool, and then peel it from the baking paper and position it onto my background fabric. And the final step is to Iron it in place. This technique sounds easy.

Happy Quilting
Until next time
Anne

Related Posts Plugin for WordPress, Blogger...