The quilt “sandwich” consists of the backing fabric, batting (I am using Warm & Natural Cotton Batting), and the quilt top. First, I cut the backing and batting 4″ longer and wider than the quilt top. Then I basted the layers together, using thread and the herringbone stitch (which will be removed during the quilting process). The main challenge was to keep all the layers flat, without them shifting or wrinkling.

Before I started loading the boards I starched the hell out of my backing fabric and the quilt top. Then the blue backing fabric was smoothed out on top of the tables so that it was very flat with the wrong side facing up,(I did the same process to the quilt top except the right side was facing up), I then used painter’s tape, to tape the top edge of the backing fabric to the board, then I carefully rolled the backing fabric onto one board and the quilt top onto the other board. Making sure I keep the fabrics square.

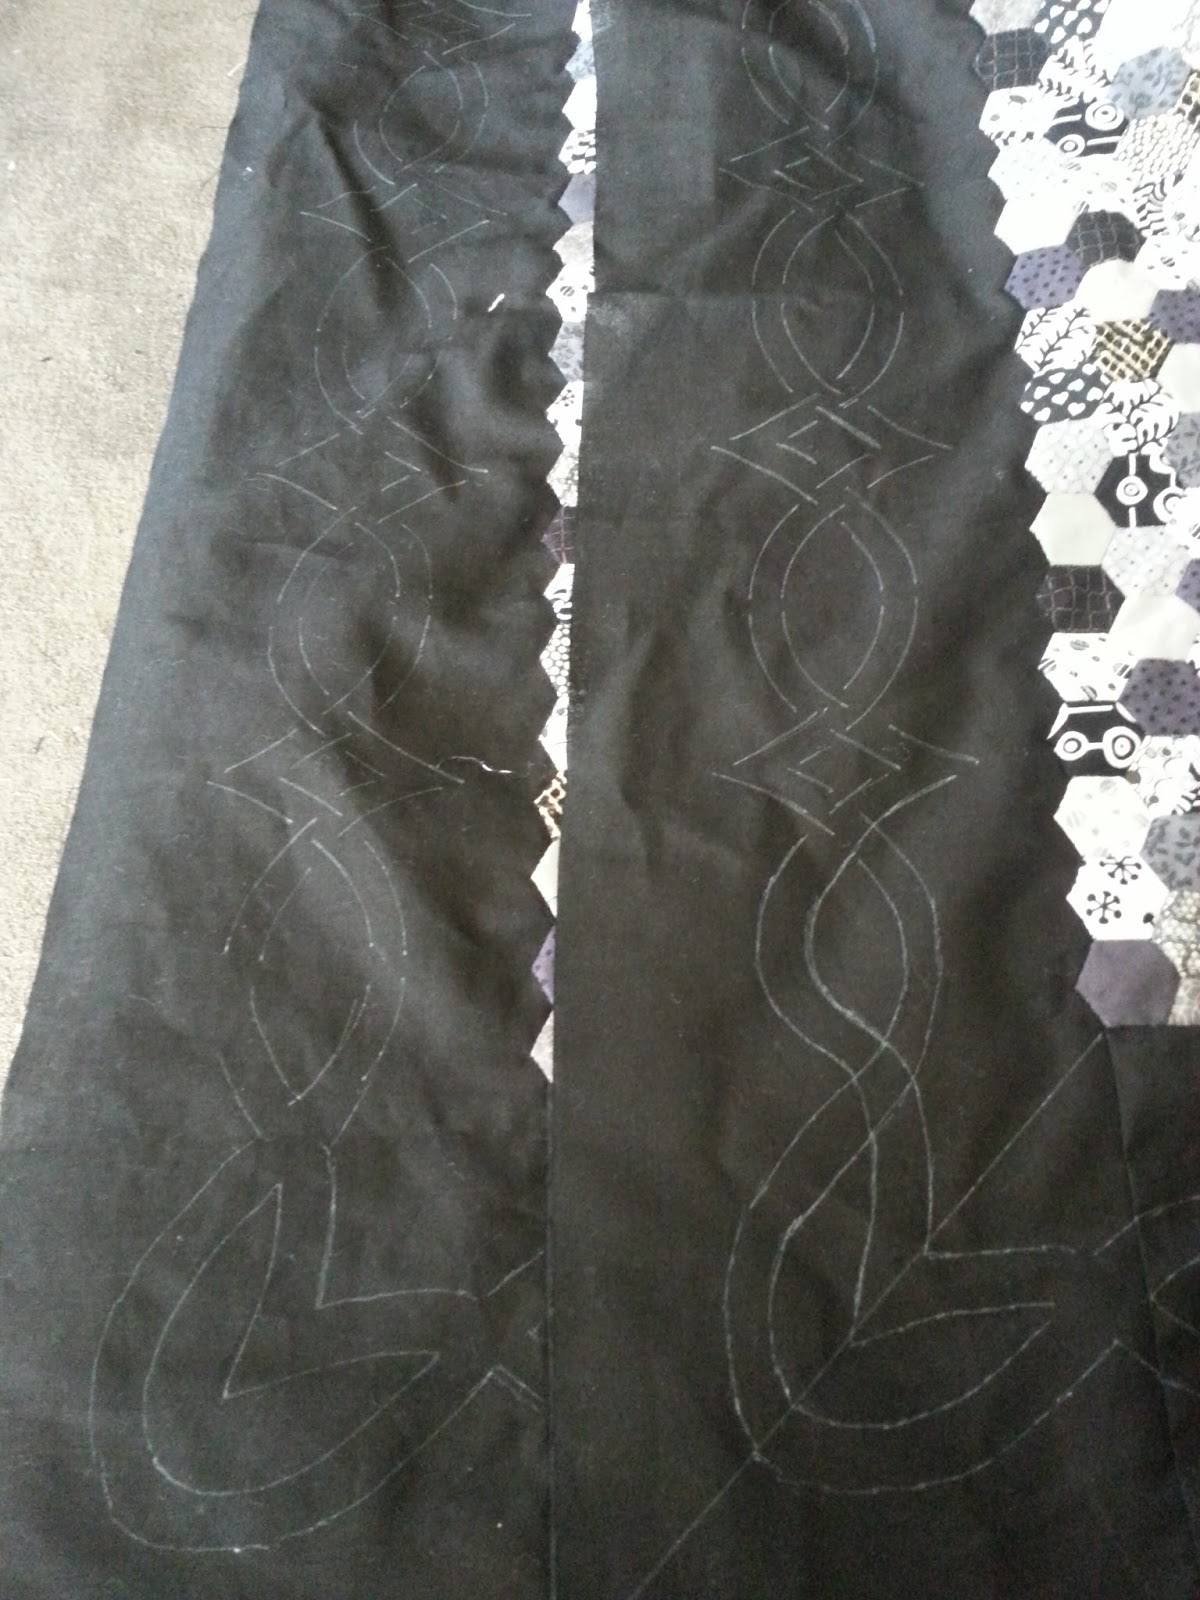
I arrange the batting on top of the backing, patting it smooth as I went. I was very careful not to tug or twist the batting between the two boards. Then I centre the quilt top rolled onto the second board, right side up, on top of the batting and backing. I unrolled about a half metre from both boards, checking to make sure that both the backing and batting extend 4" past the quilt top on all sides. Starting at the bottom, using the herringbone stitch I basted the three layers together with a needle and thread. The herringbone stitches were placed every 3″ or where they don’t interfere with my quilting plan and stencil design.

Important note: I used a packaged batting that had been folded and creased, so I had to take it out of the package the day before and spread it out to let the creases loosen up and relax before I started putting the sandwich together.
I will be so happy to start quilting this monster 106" x 99".
Until next time have fun quilting.
Anne