Saturday, December 31, 2016

My UFO List for 2017.

Here is my UFO list for 2017, many of these quilts are in or have been in various stages of production for many years... my moto this year is to never give up hope. I will finish them, maybe 2017 will be the year. Here's hoping.

Work Like and Egyptian Quilt


Doctor Who Quilt - Mathew's 40th Birthday quilt.


Ballerina Quilt - Samantha's Quilt


Affairs of the Heart - How do I quilt it???


Minecraft Quilt - Erica's Quilt


Happy New Year to all.
Happy Quilting until next time.
Anne


Work Like and Egyptian - Ramses II and Chariot panel.

I have assembled Ramses II panel, he ruled for at least 66 years. He built all over Egypt and many of his statues and temples are still standing today.


I traced the pattern shapes onto the paper side of the fusible webbing, numbering each shape to match the pattern. Then using a dry hot iron, I ironed the fusible webbing papper side up onto the wrong side of my fabric, then I cut out the shapes.


Using the assembly template as a guide I put the paper template underneath the background material, I peeled off the backing paper and placed the pattern shape one by one in order on the background fabric, then I ironed them in place.


I used the Baking paper technique to assemble the chariot. I placed the pattern template on the ironing board, and covered it with baking paper. The baking paper allowed me to lightly iron and assemble the shapes piece by piece. without the fusible webbing sticking permanently to the baking paper.


The first Archer assembled and ready to be placed on the panel.


The finished panel was to long to take in one photo. The Two Archers, one Leopard and Ramses stallions pulling his Chariot are below.


Happy quilting until next time
Anne

Friday, December 9, 2016

Work Like and Egyptian - Sphinxes

Hear are my Sphinxes - I've cut out and assembled six of these little guys.


The Sphinxes was a mythical creature, with the head of a human and the body of a lion, many Egyptian Pharaohs had their heads carved atop of these guardian statues to stand guard over their tombs.


Sewing the raw edge applique with blanket stitch using the stitch length of 1.90.

Happy quilting until next time
Anne


Ballerina Quilt - Samantha's Quilt

I decided to make a pieced flimsy back for the Ballerina Quilt.


First step - Make the 4 Patch blocks:
Cut 9 Strips of Pink 2½" and 9 Strips of Black 2½" to make the 4 patches. 70 blocks were needed The strips were sewn together then the strips were cut into 2½" squares once they were cut they were pressed open by a hot iron. Then they were sewn together to form the 4 patch.


Second step - Making the Blocks:
Then I made the blocks by cutting 4½" x 10" rectangles, (70 blocks are needed) then these rectangles were sewn to the 4 patches, remembering to always place the black square of the 4 patch on the upper right hand side of the rectangle and then the 4 patch and the rectangle fabric were sewn together. I chain pieced all the blocks.


Third step - Placement of the Blocks to form the flimsy top:
Alternate the rows when sewing together, one block up and one block down. 14 blocks across and 5 Rows down.

Also I have been cutting and sewing the Ballerina shoes for the four borders. Using the same process as the ballerina's on the main panel - they are all raw edged appliqued to the background fabric using blanket stitch on my Janome sewing machine.


As you can see in the photo below I've finished the two side borders and I am nearly ready to sew the top and bottom borders on.


Here are the other borders.


Happy quilting until next time.
Anne

Thursday, December 8, 2016

Kaleidoscope Star Quilt for Breanna.

Breanna's Kaleidoscope Star Quilt is on the frame and the Q-bot is stitching out the design on the first row. I've been playing with the frame and Avanti machine using Q-Bot (automated quilting head) for a while now.


This is the design I chose to stitch onto the quilt top.


Below is the last line of quilting on the quilt top. I really loved this design. Had a few problems with restarts, its รก new learning process to master.


Here is a picture of the binding.


I only need to make 127 Kaleidoscope stars.


Here is the label on the back of the quilt


Another finish for 2016 happy quilting until next time.
Anne


Insanity Quilt - Finished

Hi All! Oh dear, I just realize I forgot to post on finishing the "Insanity Quilt". I did finished the quilt in March. It was for my son Antony (Tony) who turned 40 on the 14th February.


The border took forever to do, but it looks stunning.


And taping and stitching all the diamond's, by domestic sewing machine was a struggle but worth it in the end.


A fellow quilter in my quilting group did the same quilt below. She gave me permission to post this picture on my blog..


This is my son holding his King quilt, I was a bit late in finishing it but he loves it.
.

Happy quilting until next time
Anne


Ballerina Quilt - Samantha's Quilt

I loved the idea for the "4 in the Raw quilt" designed by Helen Godden published in the Australian Quilter Companion magazine Vol.9.6 No.46. I did some tweaking which resulted in my version of her idea. Warning this quilt is very bright, lots of hot colours on a dark background....


First I prepared the Ballerina designs. I've played around drawing four different 10" square ballerina's. The designs are reversed for use with fusible web.


The next step was to trace the designs onto the paper side of each 10" square of fusible web and numbered the shapes to identify them.

Using a hot iron to fuse one square to the wrong side of each of my chosen four squares of coloured fabric. A total of sixteen square were needed.

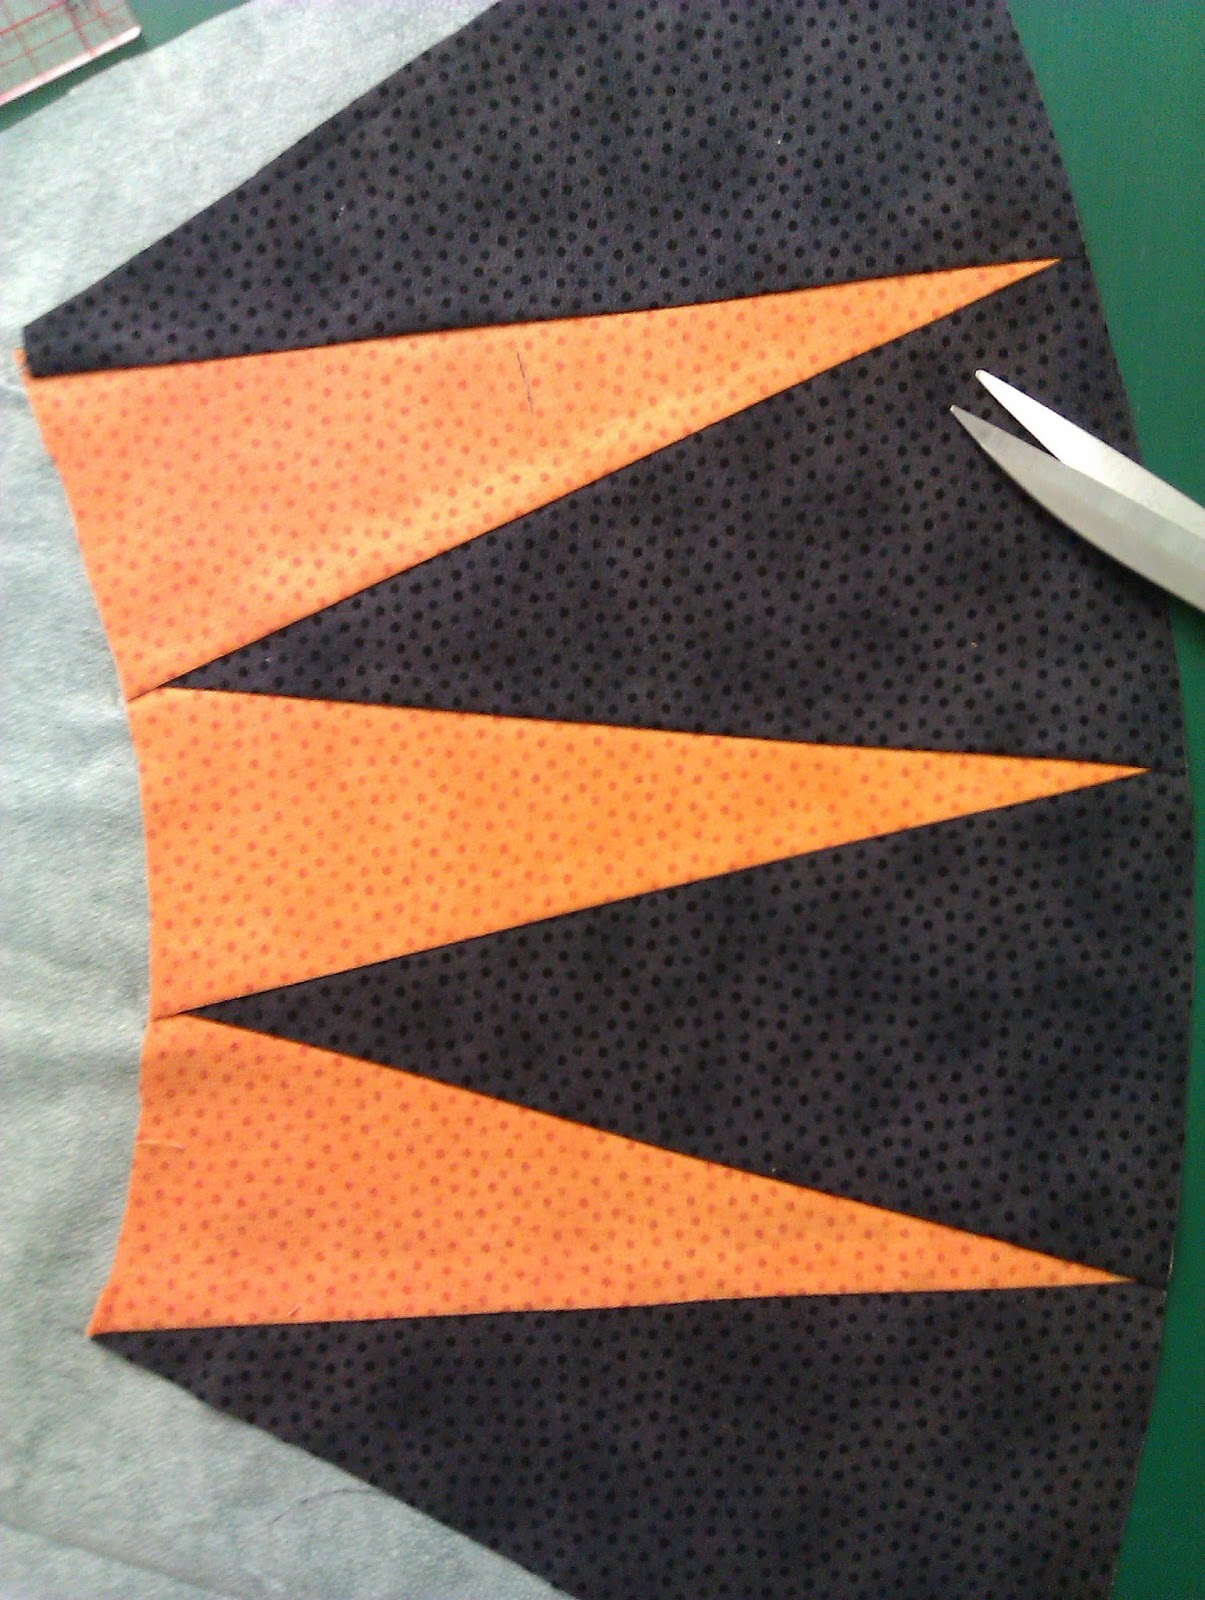
Then it was time to cut these squares into pieces along the marked lines. As every piece of each square will be used in this design, I had to make sure to cut alone the lines carefully and keep all the pieces together.


The next step was to reconstruct the sixteen squares. Placing them in a row on a flat surface.


From each of the four ballerina squares, I removed the centre and set it aside. The rest of the pieces became a Jig Saw puzzle placing them I different fabric arrangements. As there are five pieces and four colours in each square, there will be two pieces of one colour in each new square. These colours can't be placed next to each other, the two pieces of the same colour fabric must be placed opposite each other.


This is the fun part, position the newly formed squares on the gridded homespun black background fabric, leaving a channel approximately 1" between the squares to create a narrow black sashing.

When I was happy with the placement I removed the paper from the fusible web and used a hot dry iron to fuse the pieces to the background.

I am stitching around the raw edges of each piece in each square, I am using blanket stitch but a zig-zag stitch would look OK. Also I am using an invisible thread to make the stitching less obvious.


Until next time
Happy Quilting
Anne

Wednesday, December 7, 2016

A baby Quilt celebrating the birth of Harmony Fay Price

Yippee! This baby quilt has been in the works since June.


The quilt was for my great niece, who was born on the 14th June 2016 in Western Australia.

It has been machine quilted with a lions, girahs, monkeys and elephants pattern.
Harmony's quilt was finished in September and sent to her. I forgot to post. Sorry....

Until next time
Happy quilting
Anne

Mariner's Compass


  • Trace the Mariners Compass pattern onto the interfacing foundation and clearly number all the sections.


  • Find section number 1 on the foundation pattern and cut a piece of fabric large enough to cover number 1 area with added a seam allowance of 1/4".

  • I'm using two contrasting colours, alternating the two colours as I piece the fabric along the numbered piecing sequence I am using as a guide. Then placing the second fabric shape right sides together with the first one. Before pinning in place, check to ensure that the piece will cover the area of the foundation. Pin them together , then with the marked side of the foundation facing up, sew along the solid pencil line, stitching about 1/4" past the line at each end. Turn the foundation over and trim using the foundation line as a guide, folding the fabric back along the seam just stitched and trim the seam allowance to 1/4" then flip open and finger-press the fabric over the area to be covered. Press only the numbered area.


  • Continue in numerical order. When the piecing is complete, stitch all around the pattern just outside the dotted line to hold the edges in place.


  • When the blocks are joined, the solid outer line is the sewing line.


  • There are 8 sections - Make 1 complete section at a time. Then sew the other 7, assembly-line style. Cut the interfacing panels (leaving the dashed line) place fusible side up on an ironing surface. Place the points of the mariner's compass Background fabric piece (large 7" x 11" rectangle) right sides up. Be sure the fabric covers the seam allowance at the bottom point. Sew use a 2.0mm stitch length. Fold back and crease the points of the mariner's compass background fabric on the solid sewing line. Unfold the background fabric and trim 1/4" from this crease line. Fuse the applique with a pressing sheet and hot iron. Pin the points of the mariner's compass (I am using a small rectangles 5"x 11") (Points between the cardinal Points) along the edge of the Right Side Together (RST)along edge just cut. The points of the mariner's compass fabric extends 1/4" beyond the solid line at the tip you are about to cover at the top of the fabric. Turn over and sew on the lines from end to end. Making sure to sew very accurately at the points. Fold back the points of the mariner's compass Background fabric (small rectangle) along the stitching line and crease as before. Unfold and cut 1/4" from the crease line. Finger press the seam open using and applique pressing sheet, and fuse. Making sure to press the points well. Continue until the points of the mariner's compass and the points of the mariner's compass background fabrics are sewn and fused together. Crease along the last dashed line, and trim on the crease line (not 1/4" beyond). Press. Trim the entire outer background edge. Fold up and crease the bottom extra fabric at the dished line. Trim on this crease line. Sew the other 7.


    Place the arcs to the rough side of the interfacing against right side of the fabric on the small arc and large arc fabric. Stitch the curve at the top. Trim. Turn both arcs to the right side. Finger press the interfacing to the backside. Place the arc sections along the Cardinal Points, lining the raw edges up with the dashed line. Fuse. Sew a narrow zig-zag stitch along the edge of the arcs. Use invisible thread.  Use 1.5mm width and a stitch length of 2.5.


    Sew the 4 quarters together, keeping the facing open. Finger press the facing to the back. Fuse to the background. Position your compass on the background fabric, taking care to keep the large cardinal points in the North, South, East and West positions, Applique the compass in the same way as you appliqued the arcs. Add borders.
    Related Posts Plugin for WordPress, Blogger...