Showing posts with label Hand Sewing. Show all posts

Thursday, December 8, 2016

Insanity Quilt - Finished

Hi All! Oh dear, I just realize I forgot to post on finishing the "Insanity Quilt". I did finished the quilt in March. It was for my son Antony (Tony) who turned 40 on the 14th February.


The border took forever to do, but it looks stunning.


And taping and stitching all the diamond's, by domestic sewing machine was a struggle but worth it in the end.


A fellow quilter in my quilting group did the same quilt below. She gave me permission to post this picture on my blog..


This is my son holding his King quilt, I was a bit late in finishing it but he loves it.
.

Happy quilting until next time
Anne


Thursday, August 27, 2015

Is it a "Kaleidoscope quilt" or "One Block Wonder" quilt

I've decided to make a Kaleidoscope or my version of a One Block Wonder Quilt.

The challenge is to limit this quilt to "just one piece of fabric". I am using a large busy pattern piece of fabric it looks like something Picasso would paint, its very busy and has lots of what I need. This fabric needs to have the right mix of colours, the right number of colours, and enough change in the values and hues to add interest.


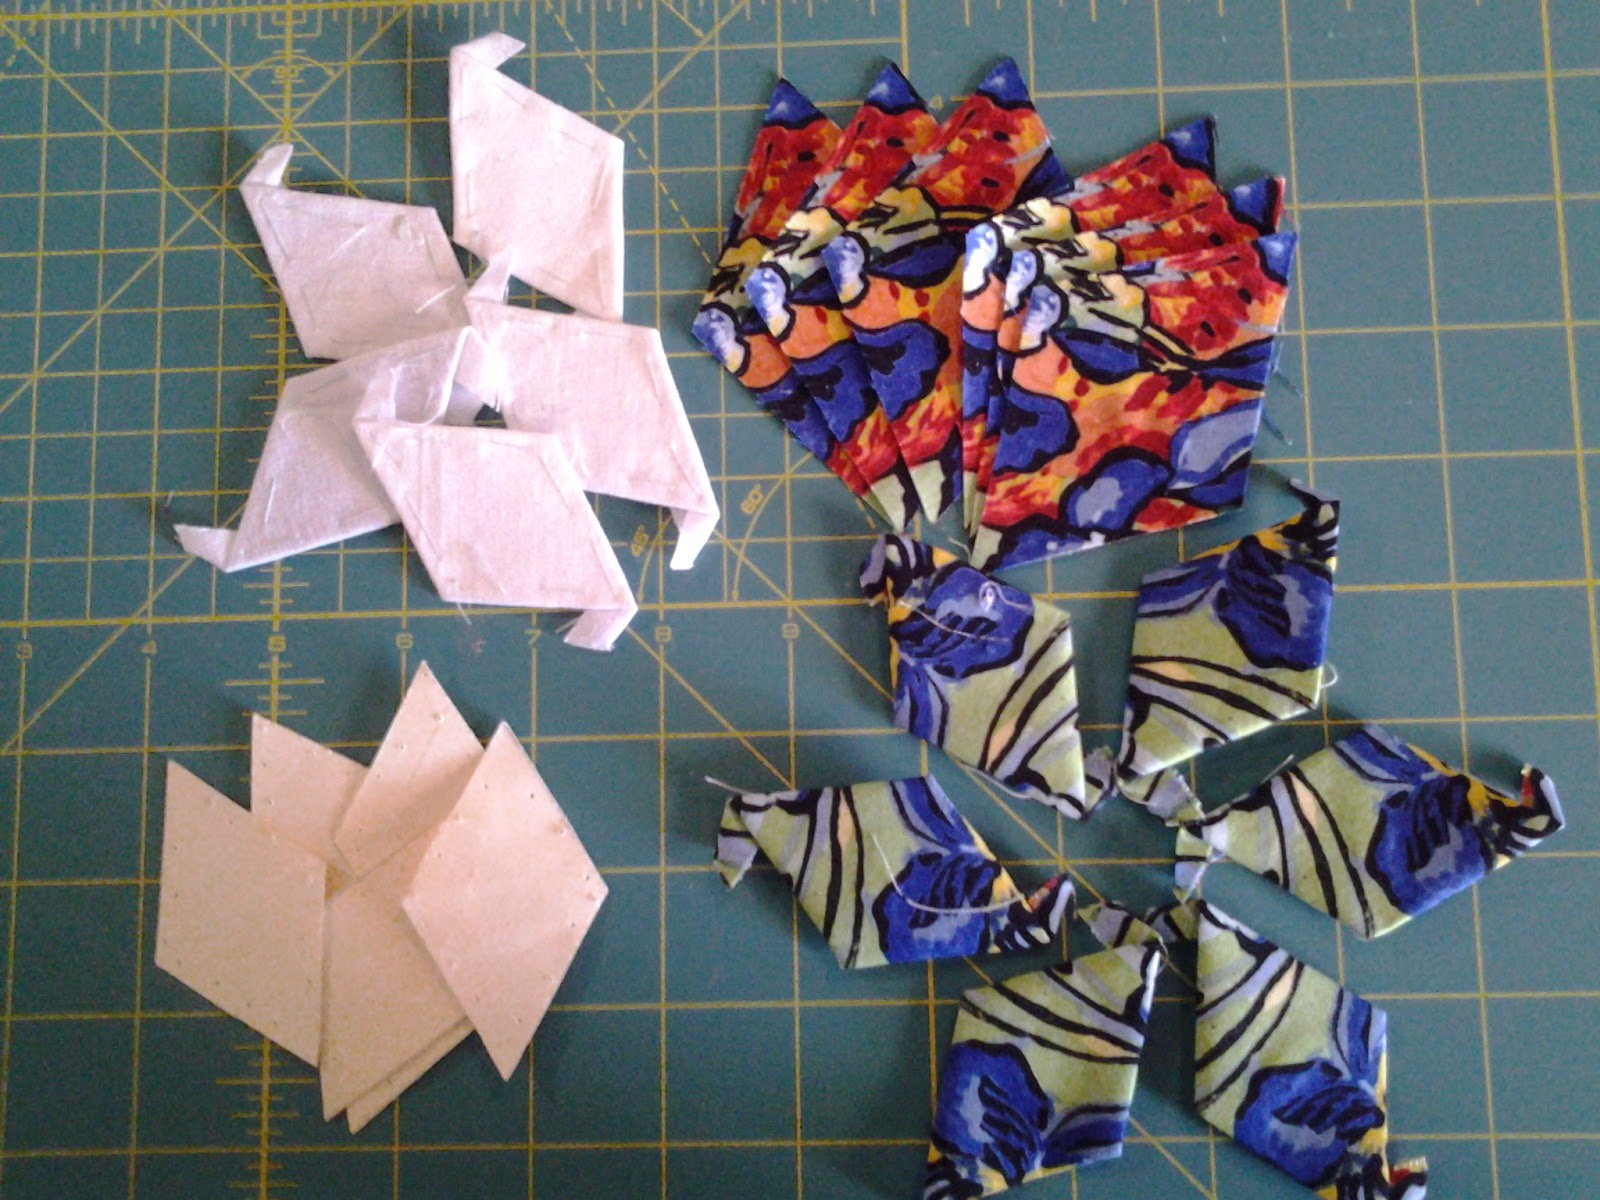
It was easy to work out the repeat of the fabric, aligning and pinning the pattern repeats together, stacking the fabrics exactly on top of each other six times and cutting the fabric strips, then cutting out six diamond shapes, making sure to keep these diamond units together until they are hand sewn together to create the Kaleidoscope effect.


The kaleidoscope star block when formed will have many patterns emerging from the fabric and what I love the most is everyone of these stars are different, I love this method as you don't know what you are getting until they are all sewn together, It's a total mystery.....


Each kaleidoscope star is unique. By using this technique for cutting material I've started looking at busy your face big print fabrics with lots of colour in a whole new way. Even if other quilter choose the same fabric, no two kaleidoscopes will be alike.

I only need to make approximately 127 Kaleidoscope stars, this should keep me busy until I come to assembling the quilt.

Happy quilting, until next time.

Anne


Tuesday, July 28, 2015

Basting - Insanity Quilt

A couple of years ago I found two videos on YouTube posted by Sharon Schamber that demonstrated how to baste a large quilt using two boards on a table and a herringbone basting stitch. This method definitely beats crawling around the floor on my hand and knees...


The quilt “sandwich” consists of the backing fabric, batting (I am using Warm & Natural Cotton Batting), and the quilt top. First, I cut the backing and batting 4″ longer and wider than the quilt top. Then I basted the layers together, using thread and the herringbone stitch (which will be removed during the quilting process). The main challenge was to keep all the layers flat, without them shifting or wrinkling.


Before I started loading the boards I starched the hell out of my backing fabric and the quilt top. Then the blue backing fabric was smoothed out on top of the tables so that it was very flat with the wrong side facing up,(I did the same process to the quilt top except the right side was facing up), I then used painter’s tape, to tape the top edge of the backing fabric to the board, then I carefully rolled the backing fabric onto one board and the quilt top onto the other board. Making sure I keep the fabrics square.


I arrange the batting on top of the backing, patting it smooth as I went. I was very careful not to tug or twist the batting between the two boards. Then I centre the quilt top rolled onto the second board, right side up, on top of the batting and backing. I unrolled about a half metre from both boards, checking to make sure that both the backing and batting extend 4" past the quilt top on all sides. Starting at the bottom, using the herringbone stitch I basted the three layers together with a needle and thread. The herringbone stitches were placed every 3″ or where they don’t interfere with my quilting plan and stencil design.


Important note: I used a packaged batting that had been folded and creased, so I had to take it out of the package the day before and spread it out to let the creases loosen up and relax before I started putting the sandwich together.

I will be so happy to start quilting this monster 106" x 99".

Until next time have fun quilting.

Anne

Wednesday, July 22, 2015

Final Borders - Insanity quilt

I have been making progress on my sons "Insanity quilt", as you can see I have finished sewing a verity of black and grey hexagons together for the final hexagon border. Then I have appliqued the final border in place.


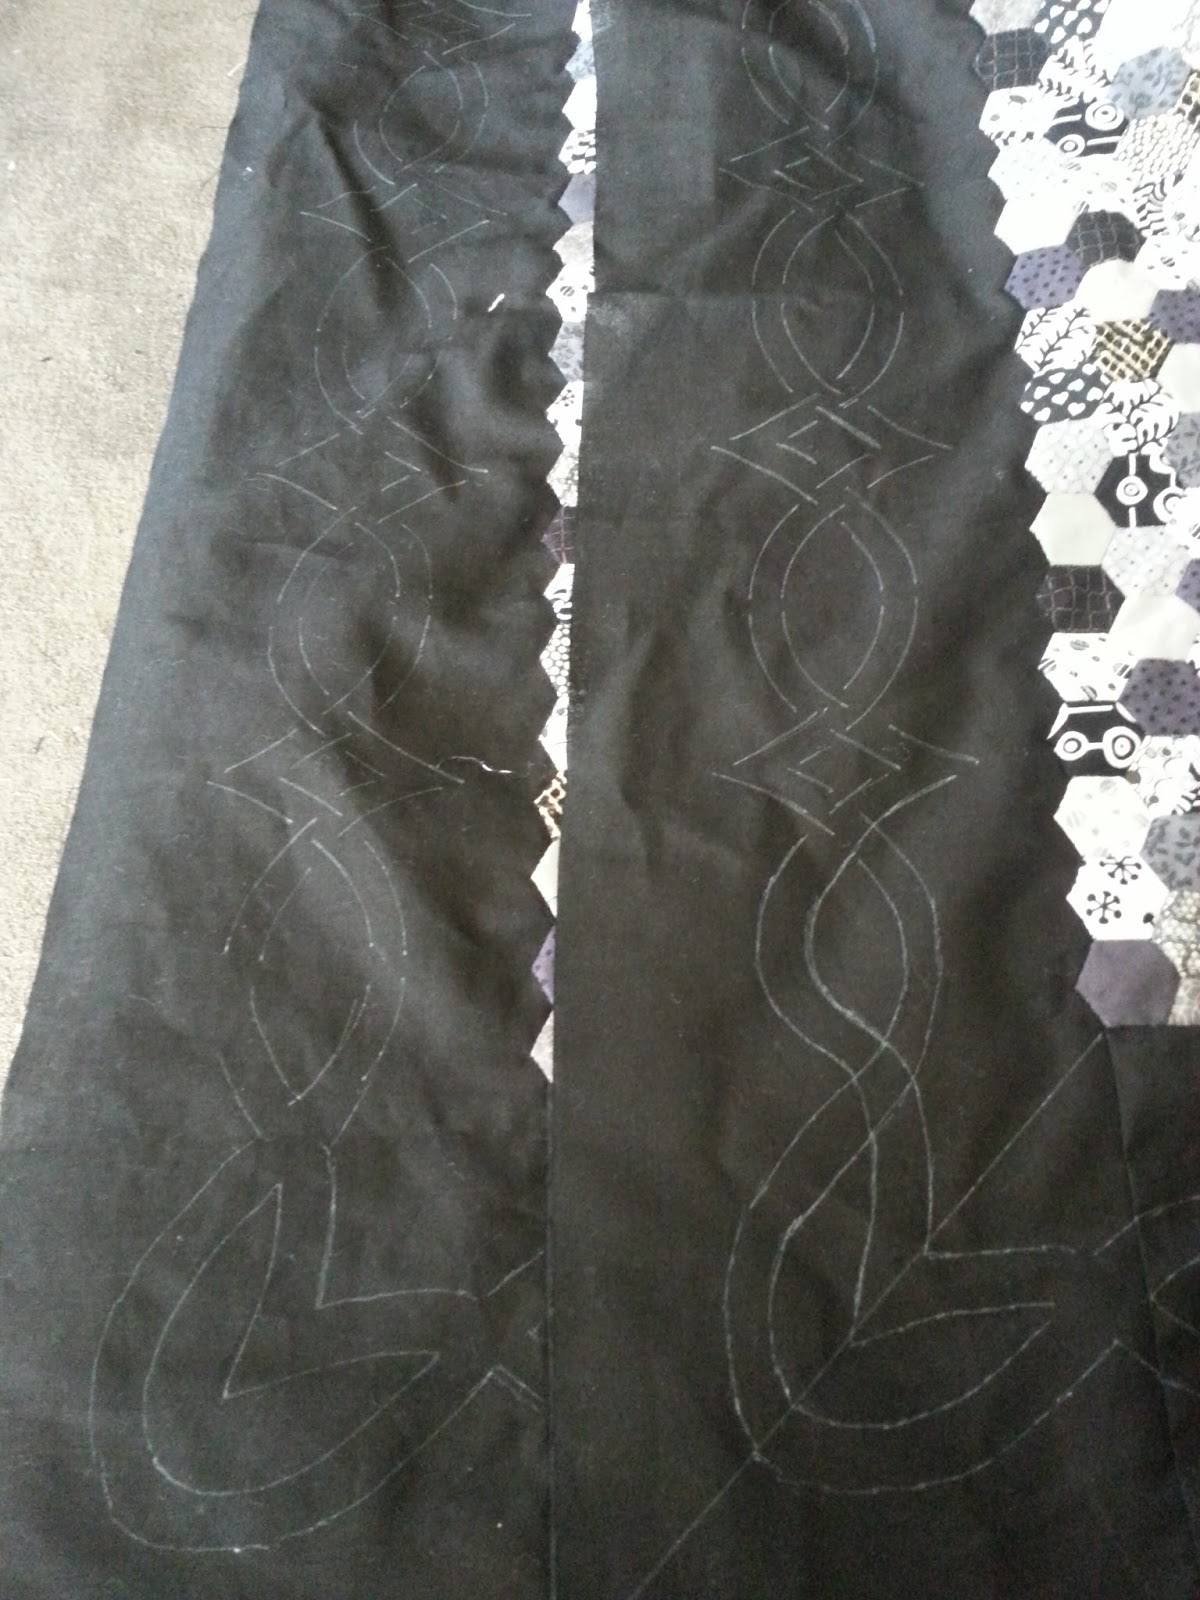
I decided on a 6½ black border, I used a quilting stencil to trace the Cable Border design onto the quilt top prior to quilting. This 3¼ (8.2cm) stencil has grooves cut into the plastic which forms the diamond designs and cable patterns. The grooves were traced with a "Clover" White Marking Pen to create lines on the black fabric border, they will show me where to stitching once I have sandwiched the quilt top together.


I didn't have a stencil for the corner, below is the design I came up with...


Below is a photo of two stencilled corners.


Until next time happy quilting

Anne


Related Posts Plugin for WordPress, Blogger...