

I'm using two contrasting colours, alternating the two colours as I piece the fabric along the numbered piecing sequence I am using as a guide. Then placing the second fabric shape right sides together with the first one. Before pinning in place, check to ensure that the piece will cover the area of the foundation. Pin them together , then with the marked side of the foundation facing up, sew along the solid pencil line, stitching about 1/4" past the line at each end. Turn the foundation over and trim using the foundation line as a guide, folding the fabric back along the seam just stitched and trim the seam allowance to 1/4" then flip open and finger-press the fabric over the area to be covered. Press only the numbered area.

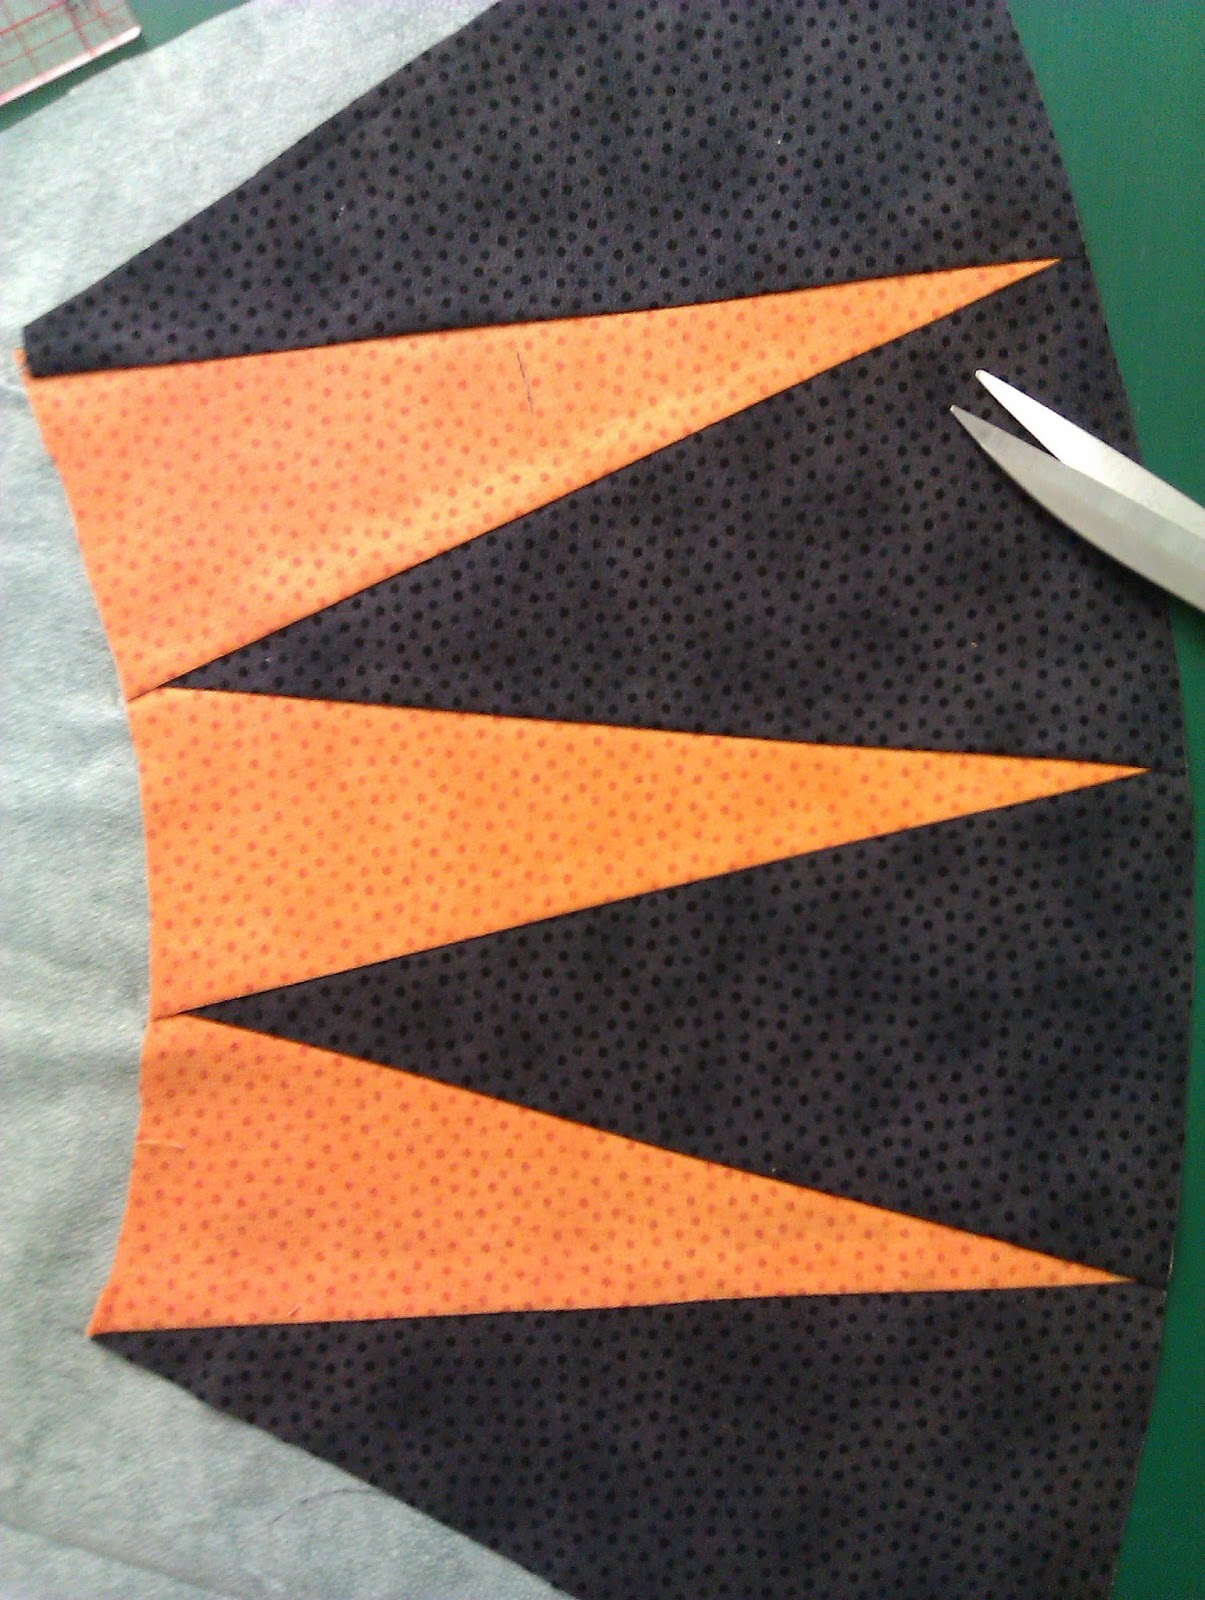
There are 8 sections - Make 1 complete section at a time. Then sew the other 7, assembly-line style. Cut the interfacing panels (leaving the dashed line) place fusible side up on an ironing surface. Place the points of the mariner's compass Background fabric piece (large 7" x 11" rectangle) right sides up. Be sure the fabric covers the seam allowance at the bottom point. Sew use a 2.0mm stitch length. Fold back and crease the points of the mariner's compass background fabric on the solid sewing line. Unfold the background fabric and trim 1/4" from this crease line. Fuse the applique with a pressing sheet and hot iron. Pin the points of the mariner's compass (I am using a small rectangles 5"x 11") (Points between the cardinal Points) along the edge of the Right Side Together (RST)along edge just cut. The points of the mariner's compass fabric extends 1/4" beyond the solid line at the tip you are about to cover at the top of the fabric. Turn over and sew on the lines from end to end. Making sure to sew very accurately at the points. Fold back the points of the mariner's compass Background fabric (small rectangle) along the stitching line and crease as before. Unfold and cut 1/4" from the crease line. Finger press the seam open using and applique pressing sheet, and fuse. Making sure to press the points well. Continue until the points of the mariner's compass and the points of the mariner's compass background fabrics are sewn and fused together. Crease along the last dashed line, and trim on the crease line (not 1/4" beyond). Press. Trim the entire outer background edge. Fold up and crease the bottom extra fabric at the dished line. Trim on this crease line. Sew the other 7.

Place the arcs to the rough side of the interfacing against right side of the fabric on the small arc and large arc fabric. Stitch the curve at the top. Trim. Turn both arcs to the right side. Finger press the interfacing to the backside. Place the arc sections along the Cardinal Points, lining the raw edges up with the dashed line. Fuse. Sew a narrow zig-zag stitch along the edge of the arcs. Use invisible thread. Use 1.5mm width and a stitch length of 2.5.

Sew the 4 quarters together, keeping the facing open. Finger press the facing to the back. Fuse to the background. Position your compass on the background fabric, taking care to keep the large cardinal points in the North, South, East and West positions, Applique the compass in the same way as you appliqued the arcs. Add borders.

No comments:
Post a Comment